
For many homeowners, a garage door opener is something they use every day without thinking about how it actually works. The moment it stops responding to a remote or a new remote refuses to pair, it suddenly feels complicated. The truth is, learning how to program a garage door opener is not a technical skill reserved for professionals. In most homes, it is a simple task that can be done in a few minutes with basic attention and patience.
People often assume something is broken when a garage door does not respond. In reality, the opener usually just needs to be programmed again. This happens more often than you might think, especially after battery replacements, power outages, or moving into a new house.
This article explains the process in plain language, without manuals full of confusing terms.
What Programming a Garage Door Opener Really Means
Programming a garage door opener does not mean installing software or changing internal settings. It simply means allowing the opener to recognize and respond to a specific device, such as a remote control, keypad, or vehicle button.
Every opener has a memory. When you program it, you are telling that memory which signals it should accept. If a signal is not stored, the opener ignores it. That is why a brand-new remote will not work until it is programmed.
Once you understand this basic idea, the whole process becomes much easier to follow.
How a Garage Door Opener Communicates With a Remote
A garage door opener works through radio signals. When you press a button on the remote, it sends a coded signal to the motor unit. If the code matches what the opener has stored, the motor activates and moves the door.
Modern systems use rolling codes. This means the signal changes every time you use the opener. It adds security and prevents someone else from copying your remote signal. Programming allows the opener to recognize the starting pattern so it can follow future changes correctly.
Common Situations Where Programming Is Needed
There are many everyday reasons why someone needs to program a garage door opener.
A new remote is the most common one. Universal remotes also need programming before they work. Moving into a new house is another big reason. In that case, reprogramming is important for security, not just convenience.
Power outages can sometimes reset memory in older models. Lost remotes are another situation where reprogramming becomes necessary, especially if you want to remove access from the lost device.
In all these cases, the solution is the same: reprogram the opener.
Types of Garage Door Openers and Why They Matter
Garage door openers come in different styles, but programming is usually similar across all of them.
Chain-drive openers are common in older homes. They are strong and reliable but tend to be louder. Belt-drive openers are quieter and more popular in modern houses. Screw-drive openers use a rotating rod and have fewer moving parts. Wall-mounted openers are installed beside the door instead of on the ceiling.
Regardless of the type, most modern openers follow the same programming logic.
What to Check Before You Start Programming
Before touching any buttons, make sure the opener has power. It sounds obvious, but it is often overlooked. Check the remote batteries as well. Weak batteries can cause programming to fail even if everything else is correct.
Make sure the garage door is fully closed and that the area is clear. You should also keep children and pets away during the process. Programming itself is safe, but testing involves moving the door.
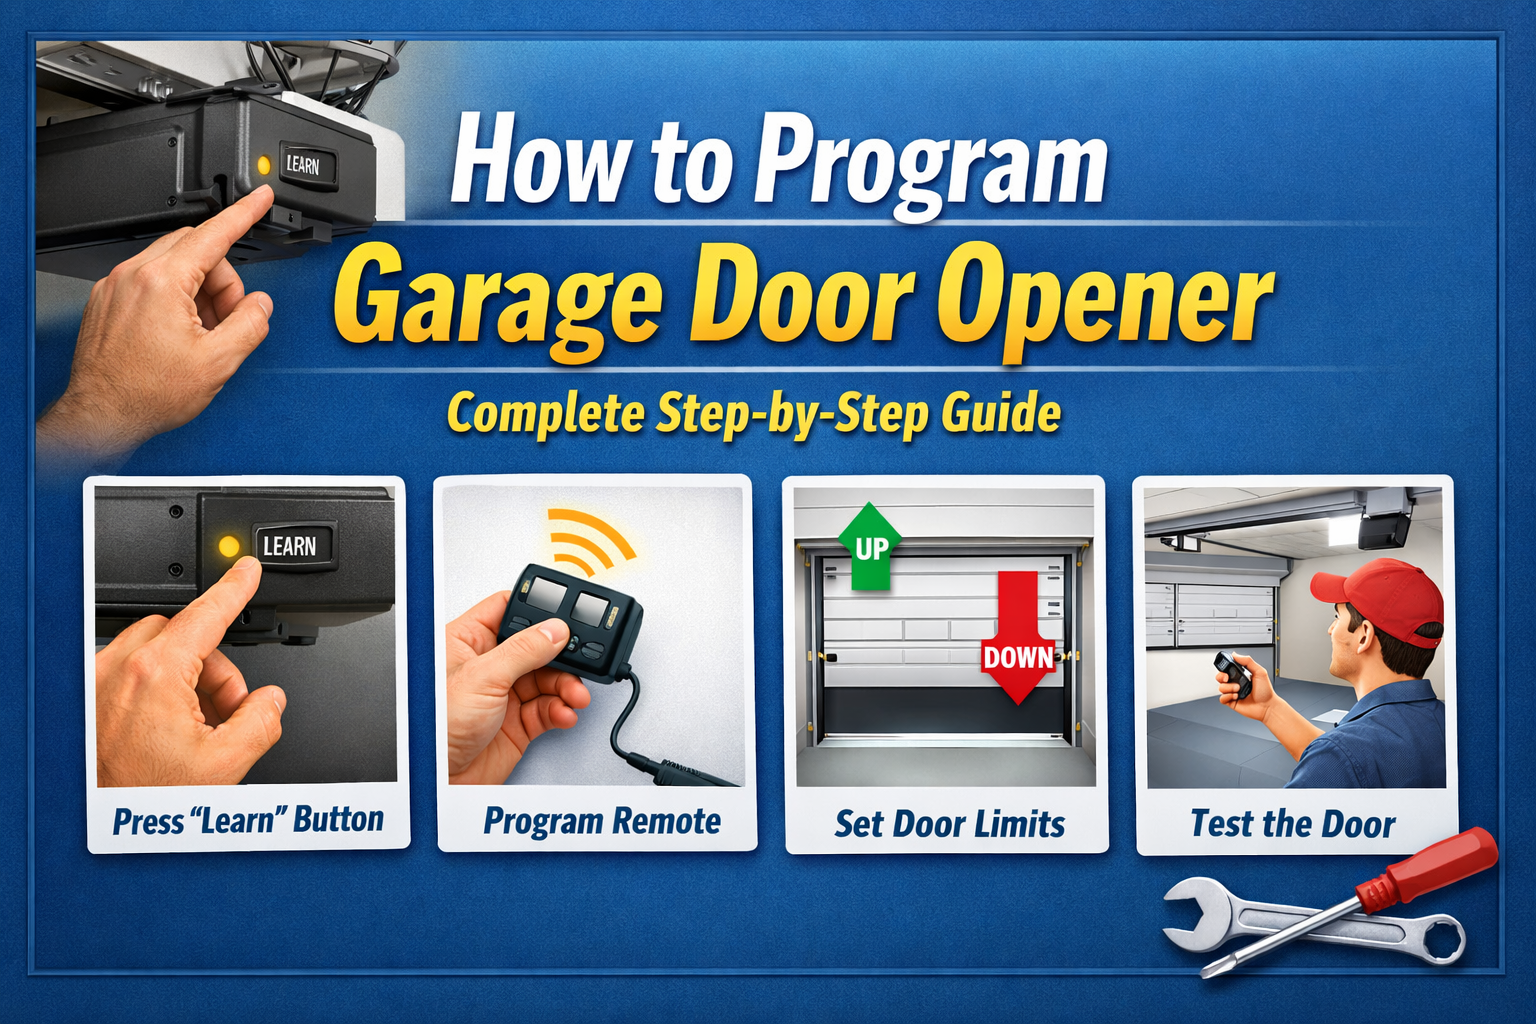
How to Program a Garage Door Opener Using the Learn Button
This is the most common method and works for most modern openers.
Start by locating the Learn button on the motor unit. It is usually found on the back or side of the unit, near a thin antenna wire. The button color can vary, but its function is the same.
Press and release the Learn button once. A small light will turn on or start blinking. This tells you the opener is ready to pair.
Within a short time window, usually about thirty seconds, press the button on the remote you want to program. Hold it for a couple of seconds, then release it.
You may see the opener light flash or hear a clicking sound. That is the confirmation that the programming worked.
Test the remote by pressing the button again. If the door moves, the process is complete.
Programming More Than One Remote
If you have multiple remotes, program them one at a time. Each remote needs to be paired separately. Repeat the same steps for every device.
Do not press random buttons during the process. Extra signals can confuse the opener and cause the pairing to fail.
How to Program a Garage Door Opener Without a Learn Button
Some older openers do not have a Learn button. These models usually use small switches called DIP switches.
To program these systems, you need to open the remote casing and the motor unit cover. Inside both, you will see rows of small switches. The pattern on the remote must match the pattern on the opener exactly.
Once the patterns match, close both covers and test the remote. While this method works, it is less secure than modern rolling-code systems.
Programming a Wireless Garage Door Keypad
A keypad allows you to open the garage without a remote, using a PIN code.
To program a keypad, press the Learn button on the motor unit. Then enter your chosen PIN on the keypad and press the confirmation button.
The opener light will blink or click to confirm the code was accepted. Test the keypad by entering the PIN and opening the door.
Choose a PIN that is easy for you to remember but not obvious to others.
How to Reset a Garage Door Opener
Sometimes, the best option is to start fresh.
To reset most openers, press and hold the Learn button for several seconds. The indicator light will turn off. This means all remotes and keypads have been erased from memory.
After resetting, you must reprogram every device you want to use.
Resetting is recommended if you lose a remote or move into a new home.
Common Problems During Programming
One common issue is the remote not responding after programming. This is usually caused by weak batteries or standing too far from the motor during setup.
Another issue is the Learn button not activating. In this case, check the power supply and inspect the antenna wire. Sometimes the problem is as simple as a loose connection.
If the door opens randomly, resetting the opener and reprogramming all devices usually solves the problem.
Safety Tips You Should Not Ignore
Garage doors are heavy and move with force. Never stand directly under a moving door. Keep hands away from tracks and springs.
Do not allow children to play with remotes or keypads. If a remote is lost, reprogram the opener immediately.
Safety sensors near the floor should always be working. If they are blocked or misaligned, fix that before testing the opener.
Security Considerations
Programming is not just about convenience. It is also about security.
Always clear the opener’s memory when you move into a new home. Change keypad PINs regularly. Avoid leaving remotes in unlocked vehicles.
Modern openers are secure, but only if they are properly programmed and maintained.
When Programming Is Not the Problem
If the opener does not respond at all, even after programming, the issue may be mechanical. Worn gears, damaged wiring, or failed sensors require professional repair.
Programming fixes communication issues, not hardware failures.
Final Thoughts
Learning how to program a Garage Door opener is simpler than most people expect. Once you understand that programming is just a way of authorizing devices, the steps make sense.
With a little patience and attention to safety, most homeowners can handle this task on their own. Whether you are adding a new remote, setting up a keypad, or resetting an old system, proper programming gives you control, convenience, and peace of mind.